How to reseal a MB steering gear
(Without loosing your balls)
Written by David Petryk
Photos by Gerard Buhlon
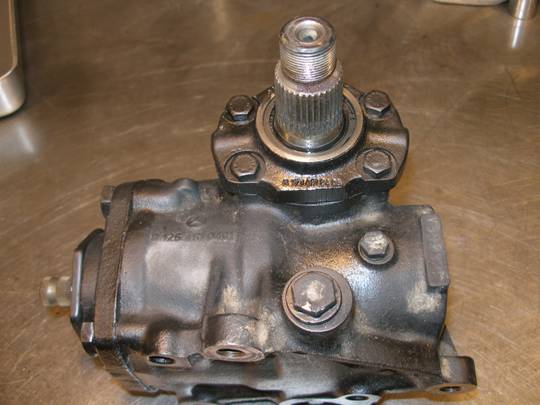
This Project was done using a steering gear from a 126 chassis vehicle. Other MB boxes are very similar and the same steps should apply.
I am not an expert mechanic. Do not rely on this document to be accurate. I accept no responsibility or liability for the accuracy of the information contain in this document. Use it at your own risk. I have no money so it’s not worth your time to sue me.
This procedure only addresses the issues of seals and adjustment of the gearbox. The recirculating ball screw system used in this box was not disassembled for good reason. Generally they do not need adjustment and they rarely have any measurable wear. Mostly the problems are leaking seals and gear wear which results in sloppy steering. These problems are easily cured if you follow the basic procedure outlined here.
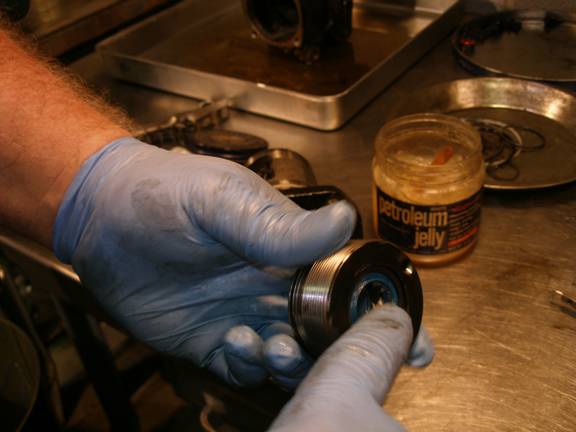
Cleanliness is important! Keep everything clean. Do not let any dirt get into anything. Use solvent to wash any sediment out if the body and parts before re-assembly. Lubricate sealing surfaces with a thin layer of petroleum jelly before assembly.
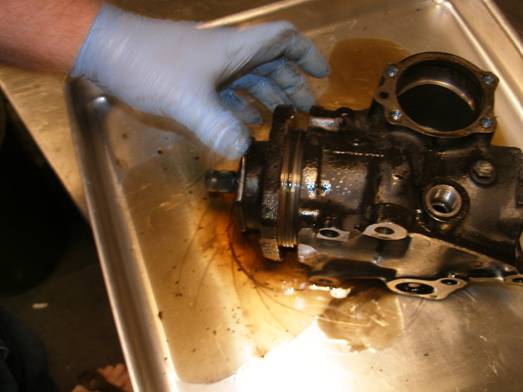
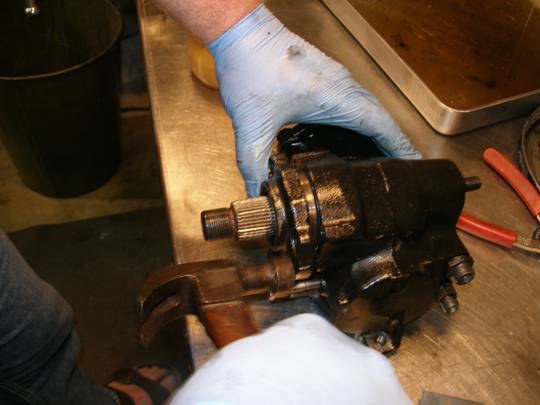
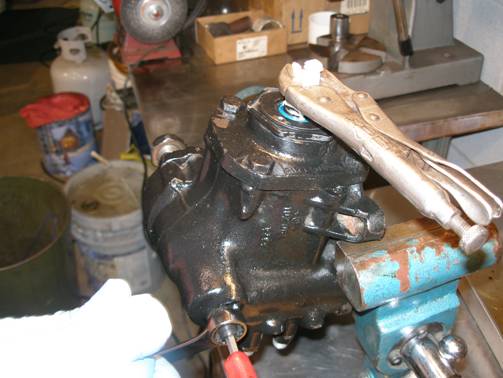
The first thing to do is to remove the gearbox from the vehicle. If you need an explanation of how to accomplish that, stop here and turn the job over to a professional. If you can’t figure how to get the gearbox off the car you don’t need to be taking it apart.
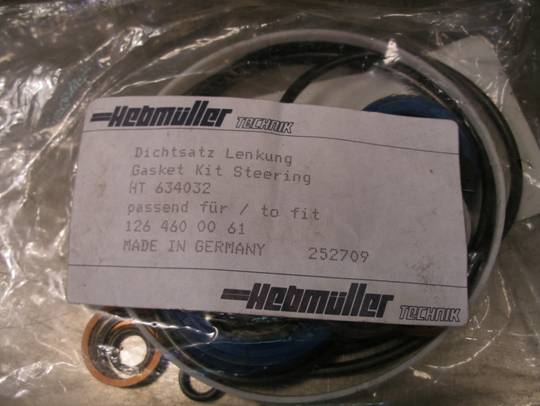
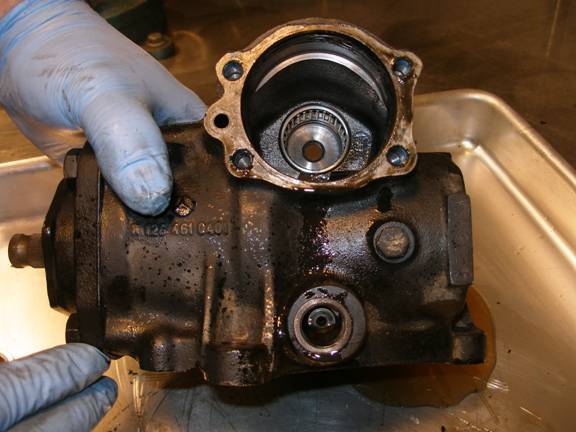
1. Acquire an overhaul seal kit that matches your box. In this case we used PN# 126 460 00 61. Note that there are a lot of parts in this kit that are not used. This is because it covers many different styles of gears.
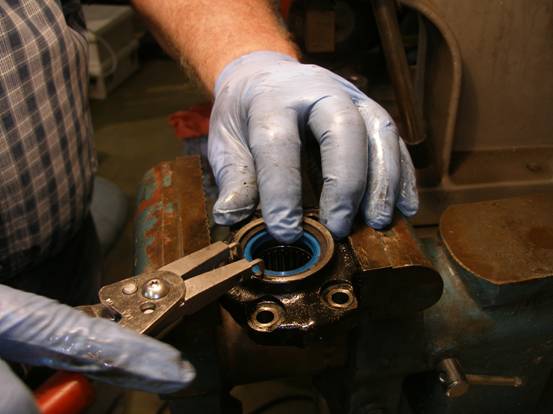
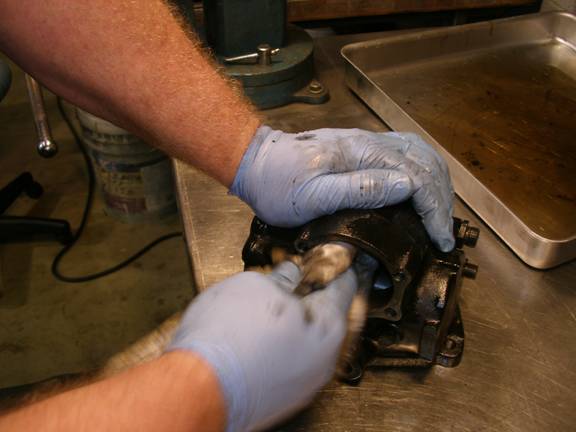
2. Remove the pitman shaft bearing cap bolts.
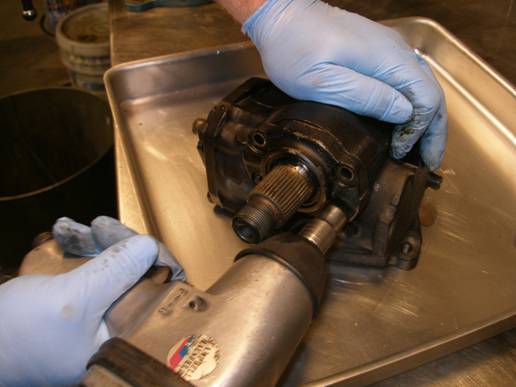
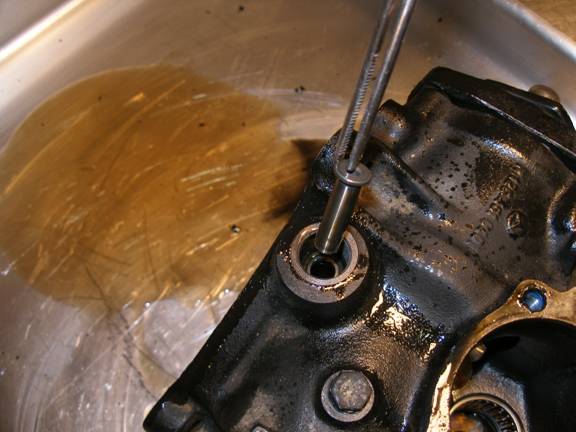
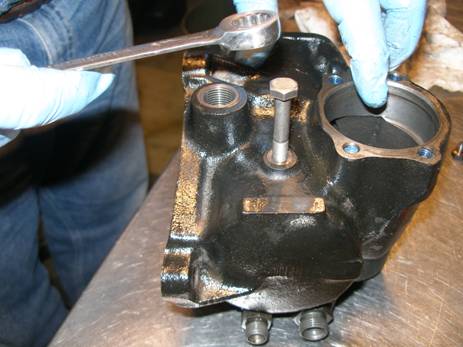
3. While holding the screw with an Allen wrench remove the lock bolt.
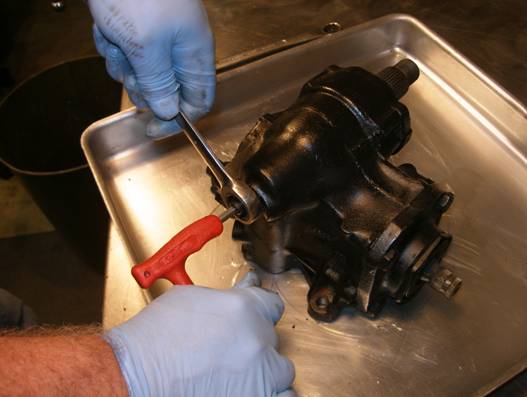
4. Turn the Allen screw clockwise and it will push out the pitman shaft bearing cap.

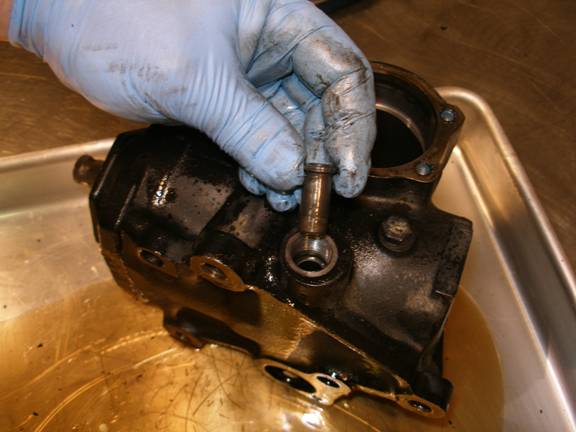
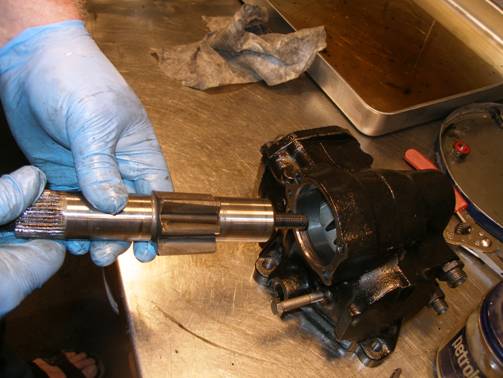
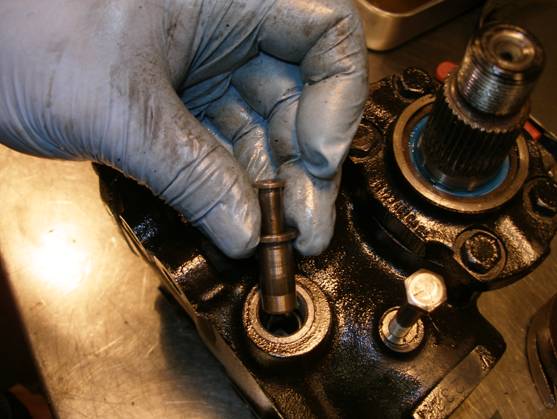
5. Remove the pinion gear and set it aside.
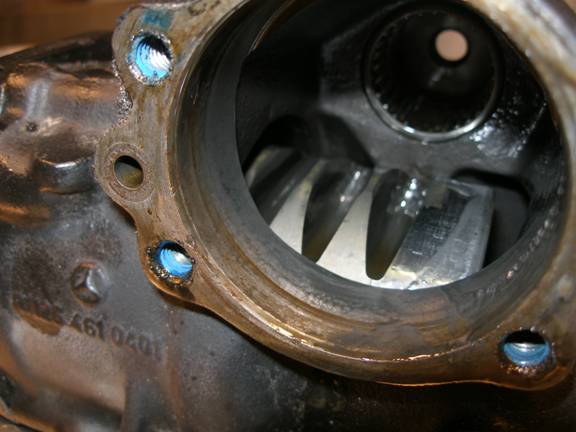
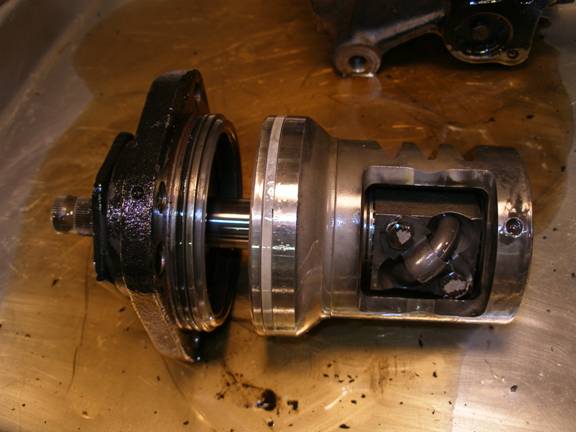
6. Here is a look at the rack.
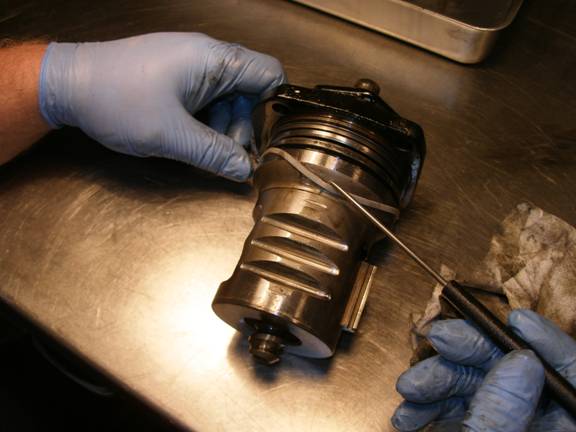
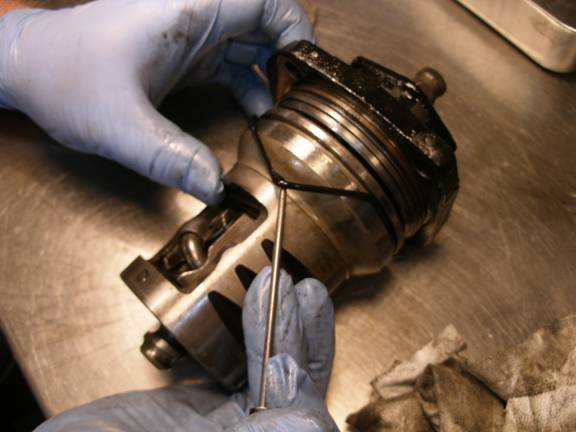
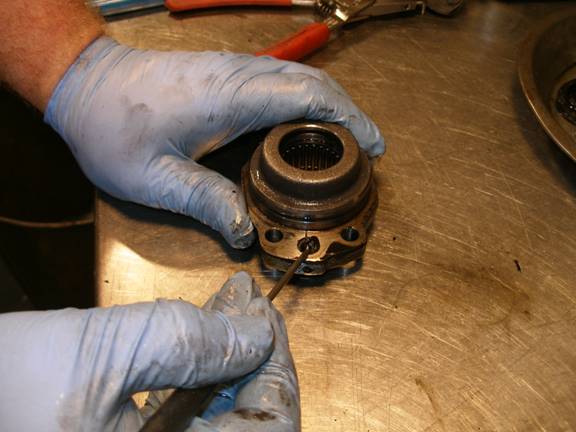
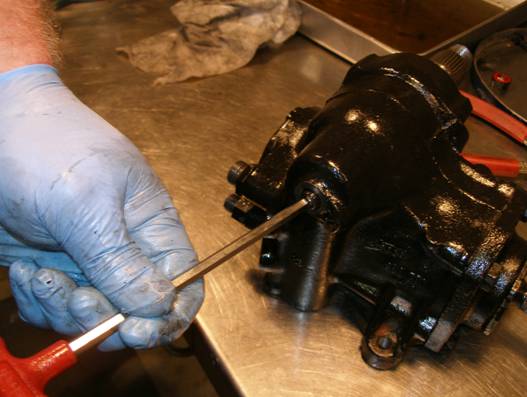
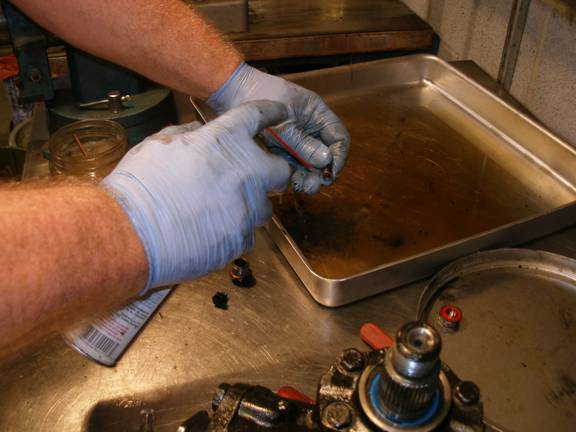
7. Remove the valve cap and pay attention because there are a number of small parts that will fall out.
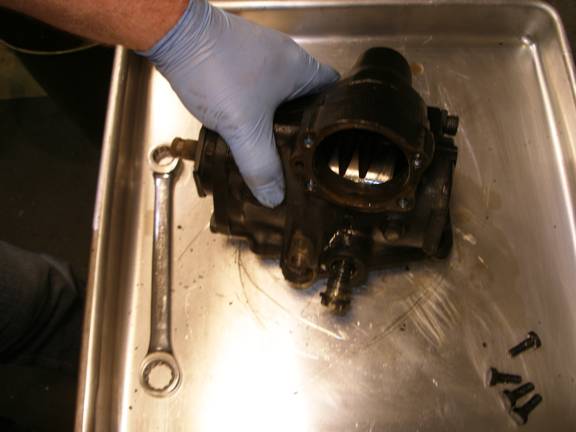
8. Remove the small parts, clean and set them aside.
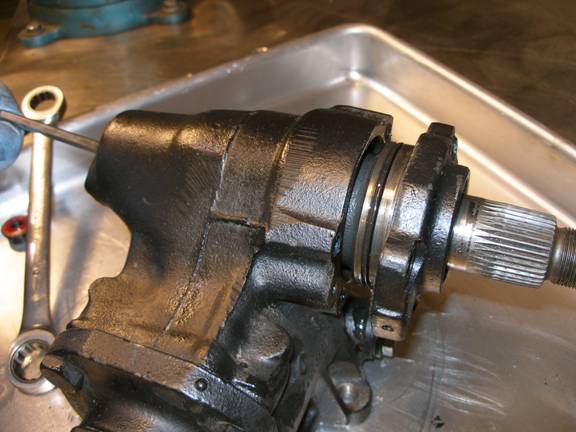
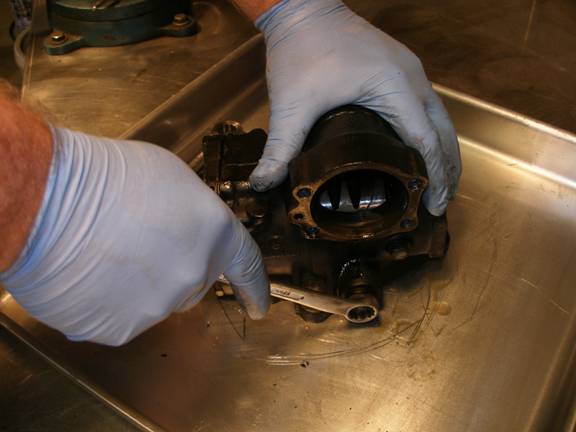
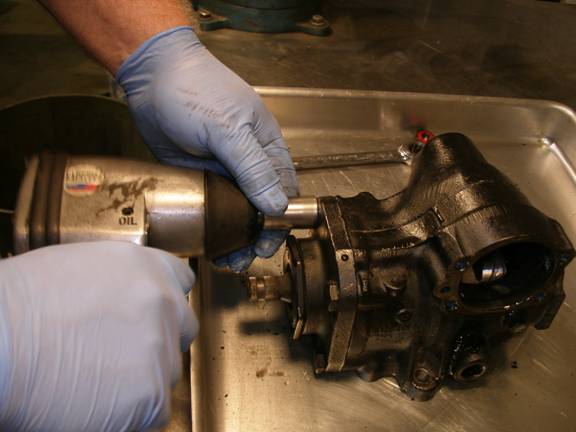
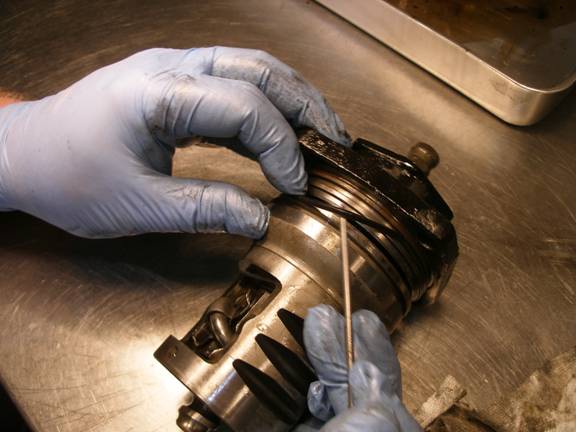
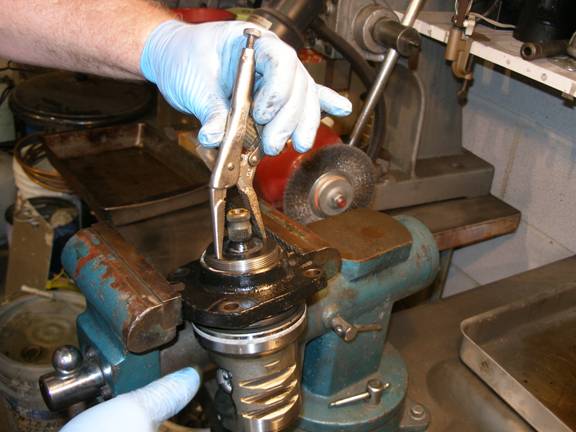
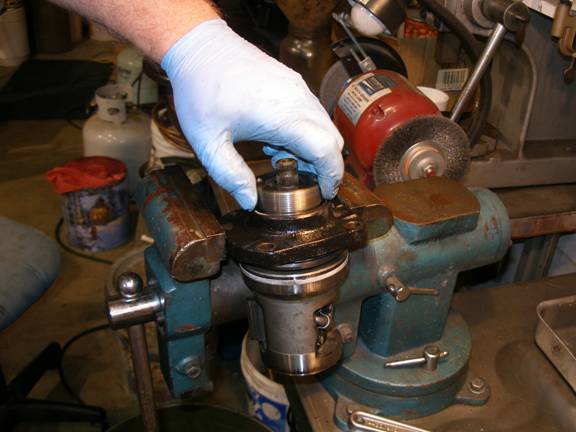
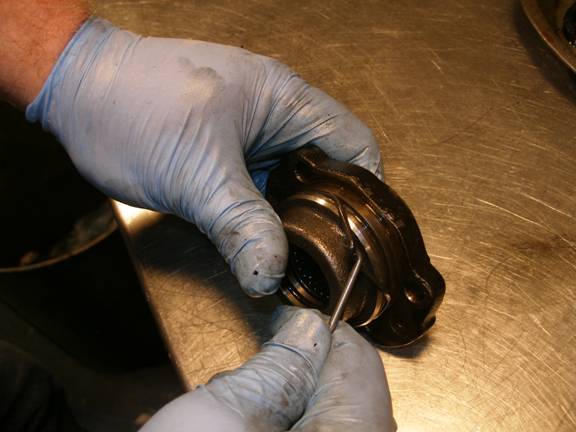
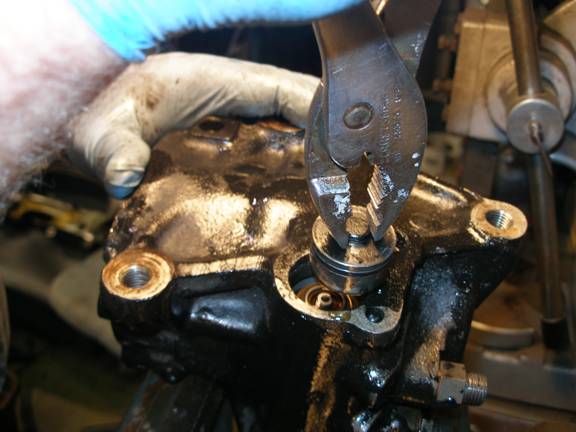
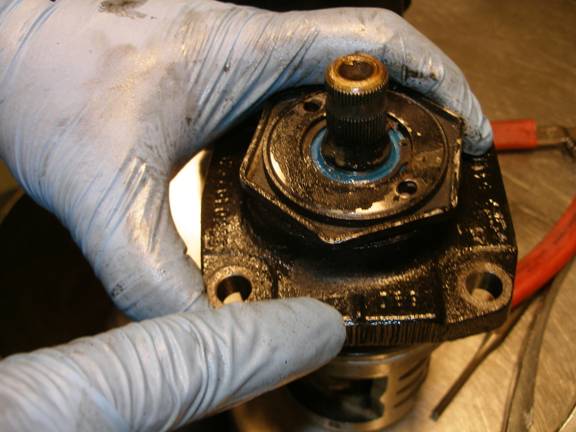
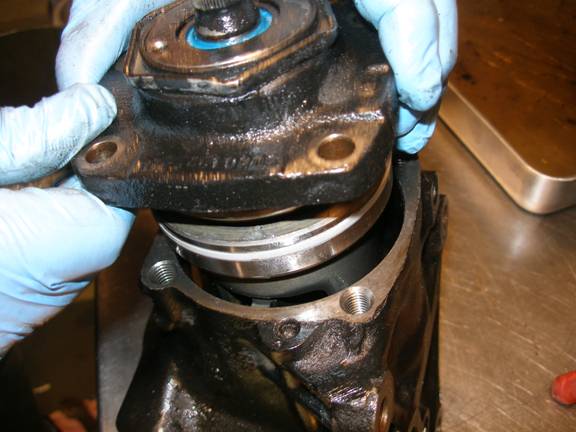
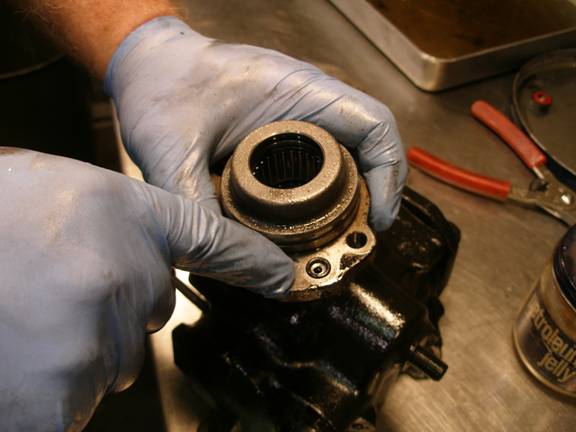
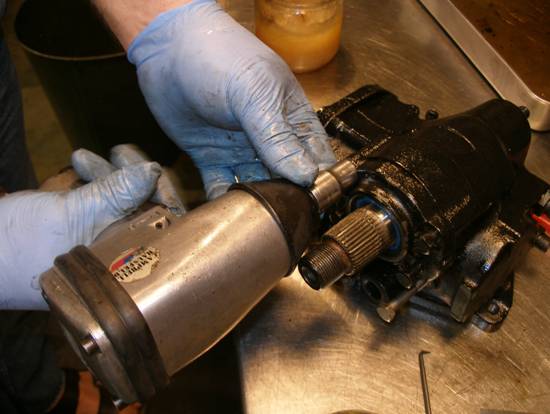
9. Turn the steering shaft fully clockwise and remove the bearing cap.
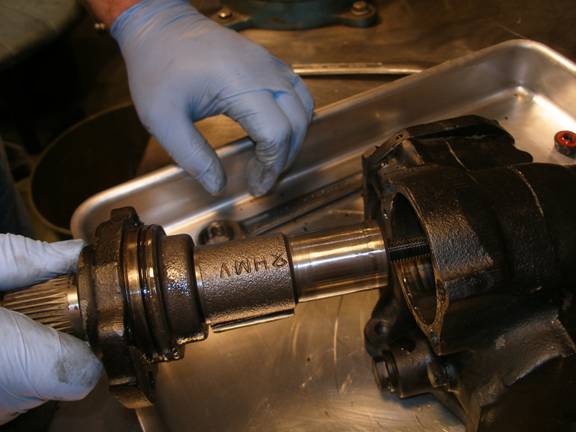
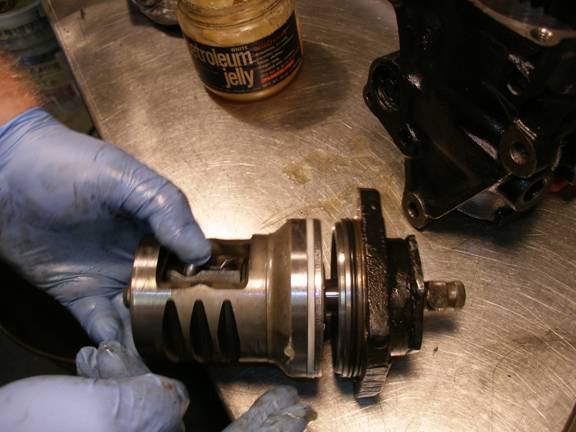
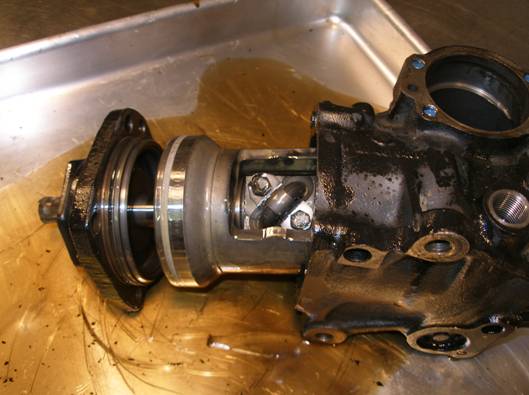
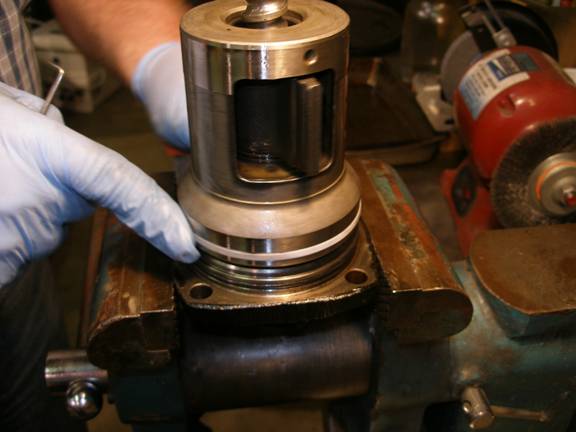
10. Remove the guts. Do not by any means unscrew the steering shaft from the rack gear assembly. The balls will fall out and you don’t want that to happen. You should screw the shaft in tighter if it is not already. The bottom photo shows a gap between the bearing cap and the rack assembly. It needs to be tightened.
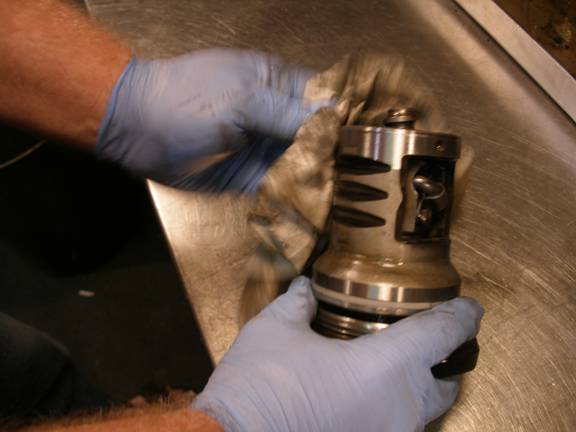
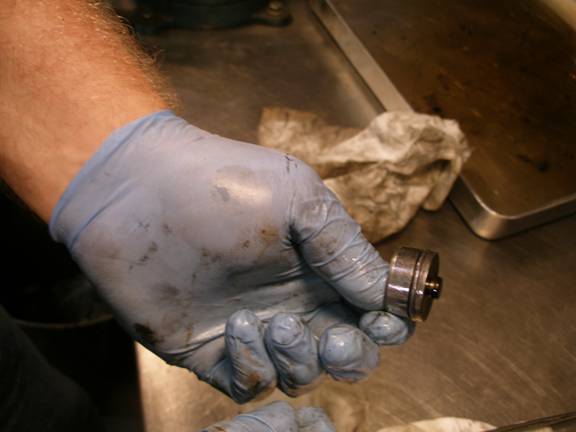
11. Clean things up a bit.
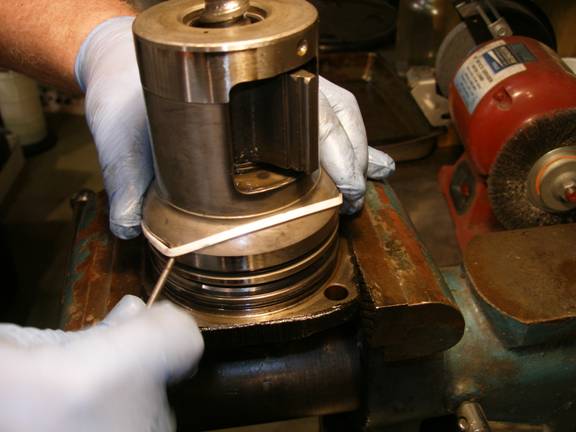
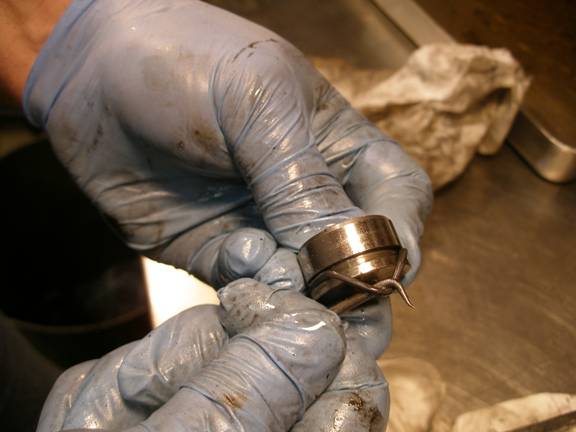
12. Remove the Teflon seal, O rings and replace. There are a total of 2 O rings and 1 Teflon seal.
13. Install new O rings and finally the Teflon seal.
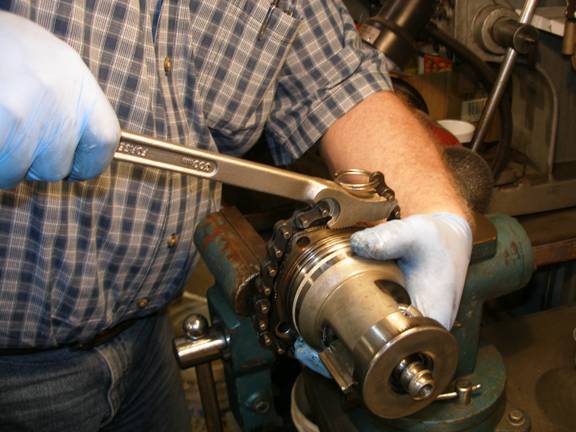
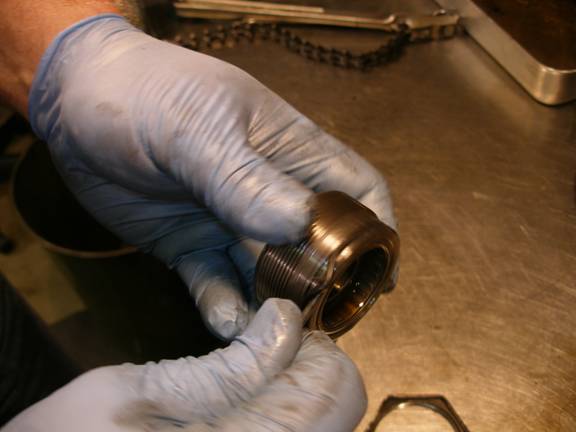
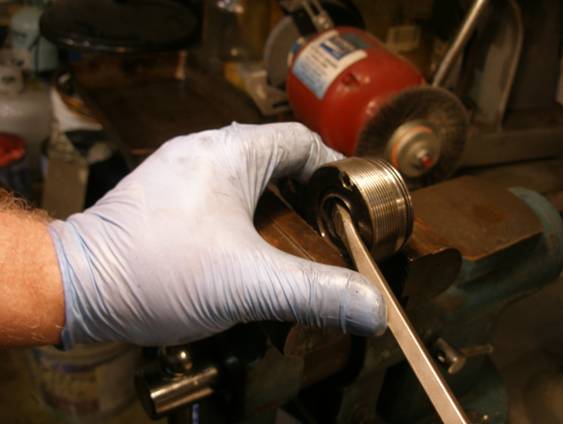
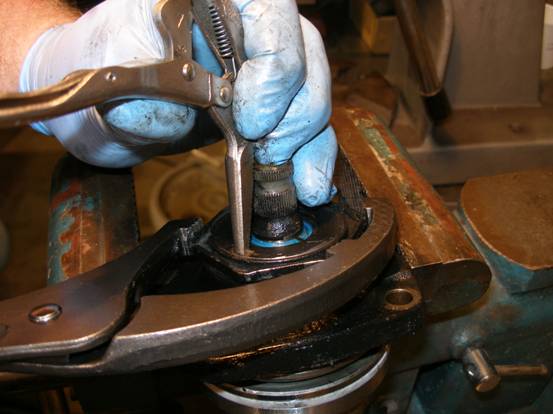
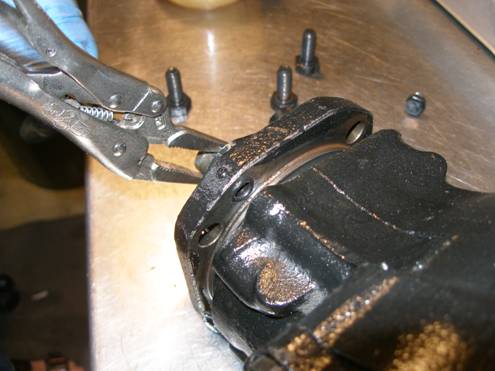
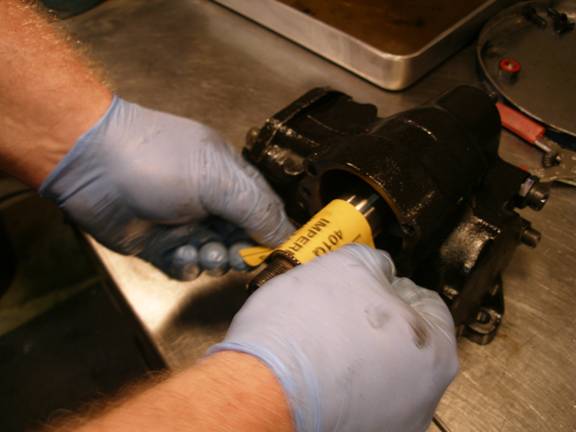
14. Remove the lock nut on the steering shaft bearing cap. I clamped it in the vise and used a chain wrench to turn the bearing cap assembly. I would have preferred to use a wrench but I did not have one big enough.
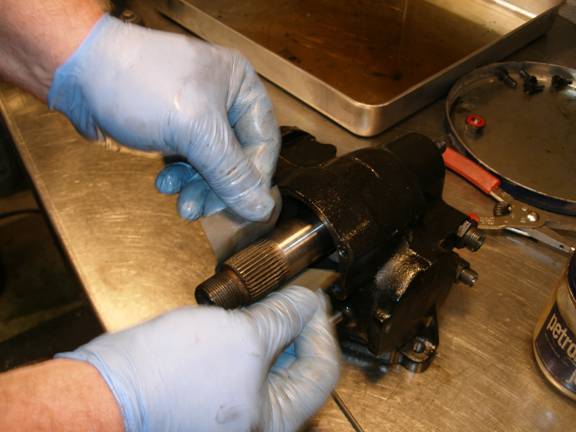
15. Unscrew the bearing cap.
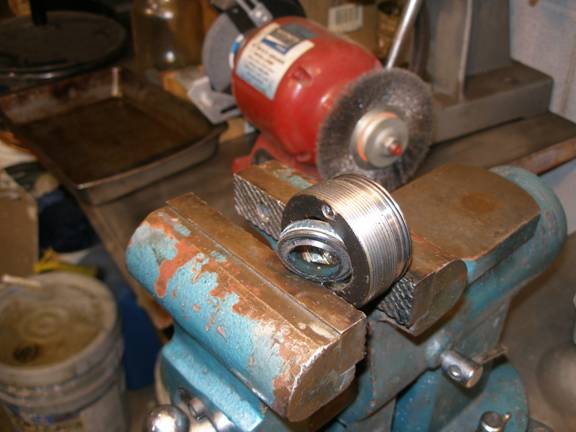
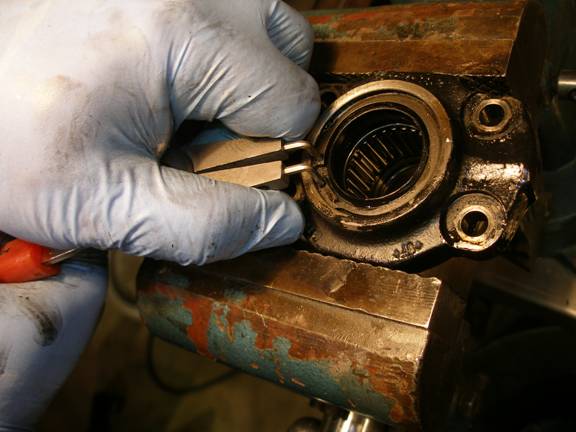
16. Remove the bearing cap and be aware that the roller bearing can fall out.
17. Remove and replace the O ring in the bearing cap.
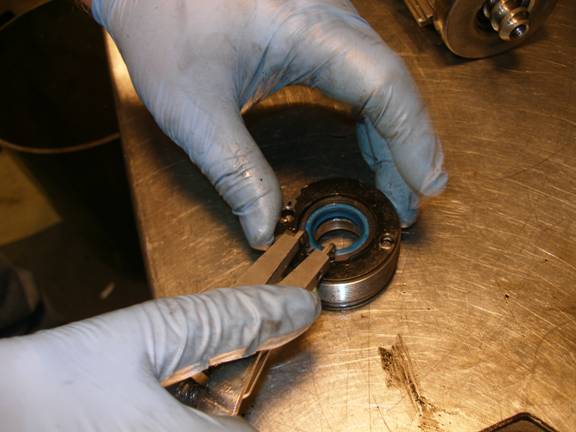
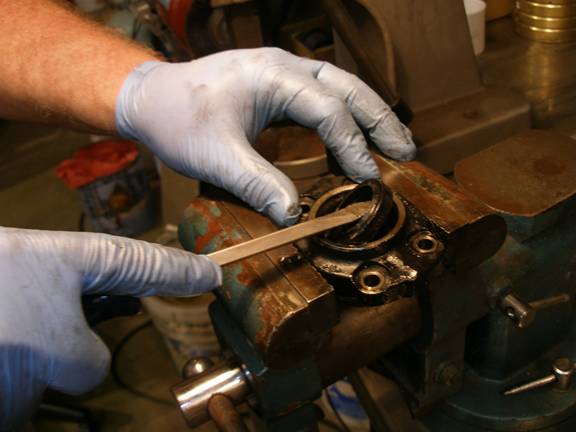
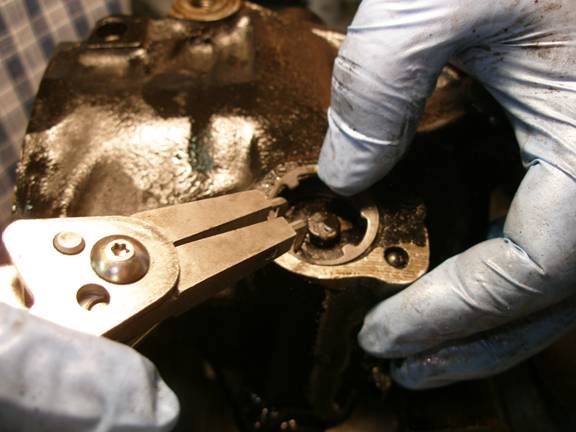
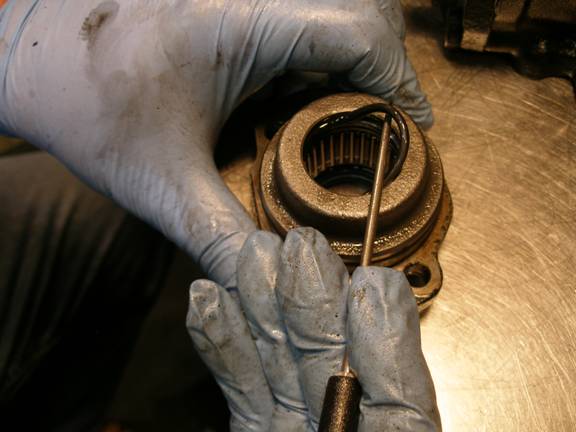
18. Remove the clip holding the shaft seal in place.

19. Remove the old seal.
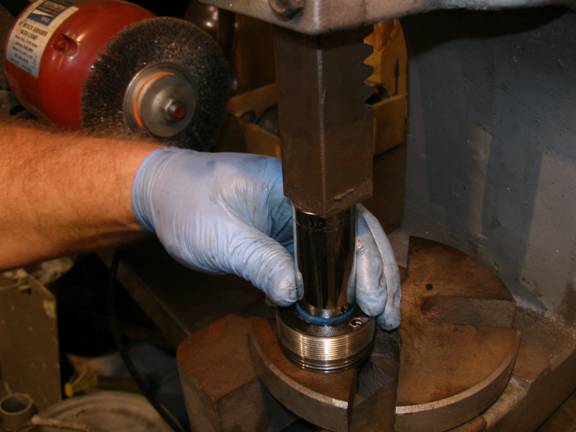
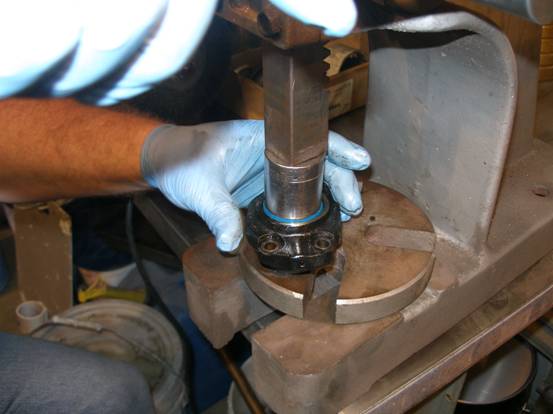
20. Install the new seal. I use a socket of the right diameter and a hand press to push them into place.
21. Replace the seal clip.
22. I always coat the seal surfaces with petroleum jelly before I assemble the parts.
23. Install the bearing cap. Screw the cap until it stops turning. If you tighten it too much then there will be a lot of pressure loading on the roller bearings. Too loose and there will be play in the steering wheel. You want to set it so there is no preload or very light preload at most.
24. After its position is set replace and tighten the lock nut. Be sure that the bearing does not tighten at all when turning the lock nut. Check for free movement of the steering shaft after everything is tight. If necessary re-adjust it.
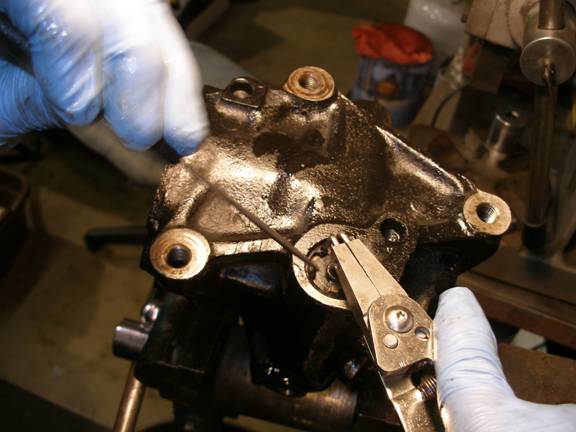
Remove the retaining clip in the pitman shaft bearing cap.
25. Remove the seal.
26. Replace the seal.
27. Replace the clip.
28. Replace the O rings (2).
29. Remove valve cover
30. Replace the O rings.
31. Replace cap and reinstall the clip.
32. Clean things up a bit.
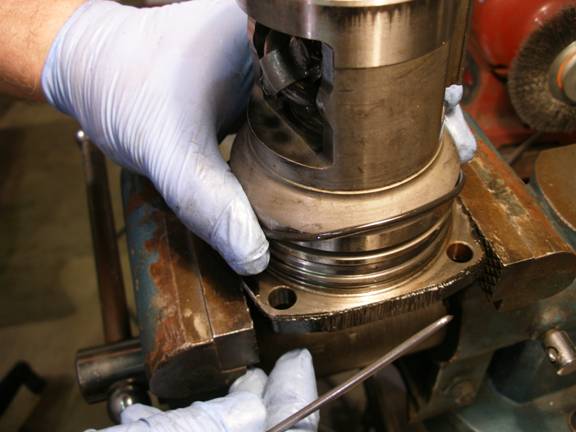
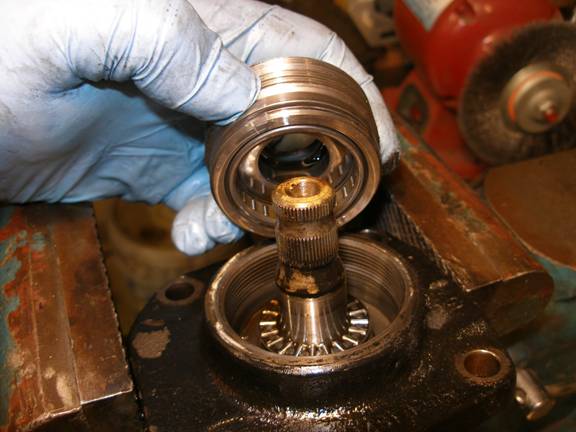
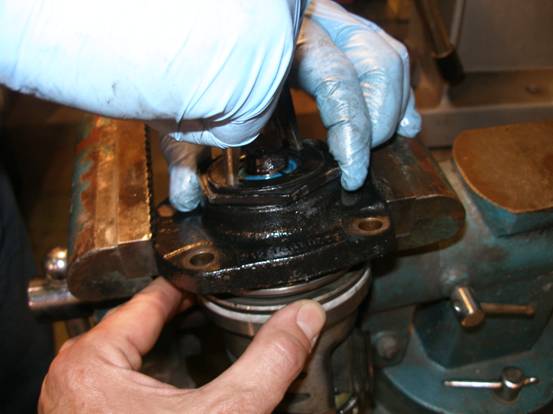
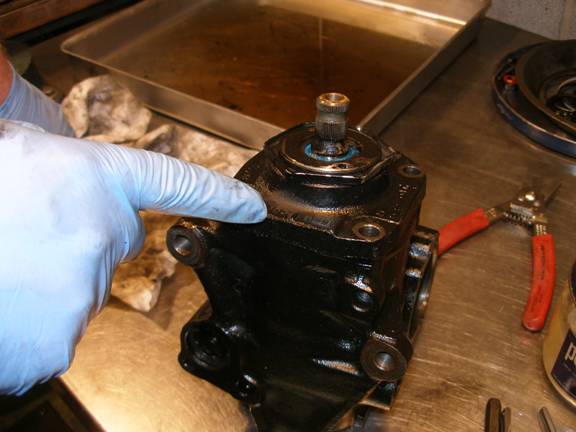
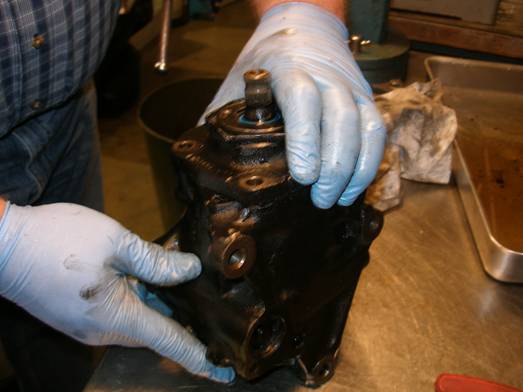
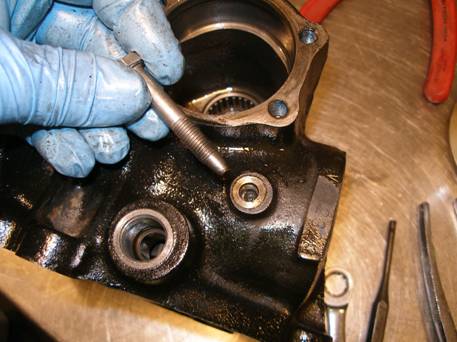
33. You are now ready to install the guts back into the housing. Notice the index mark it must be properly oriented relative to the housing.
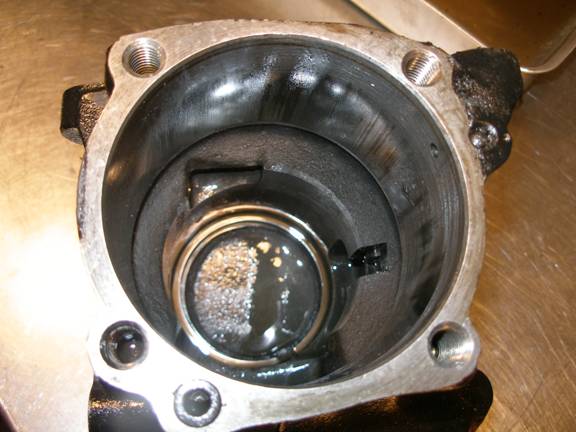
34. Slid the guts into the body and be sure that the tab extending from the recirculating ball assembly slides into the valve notch shown on the right side of this photo. This slot is deep inside the body housing.
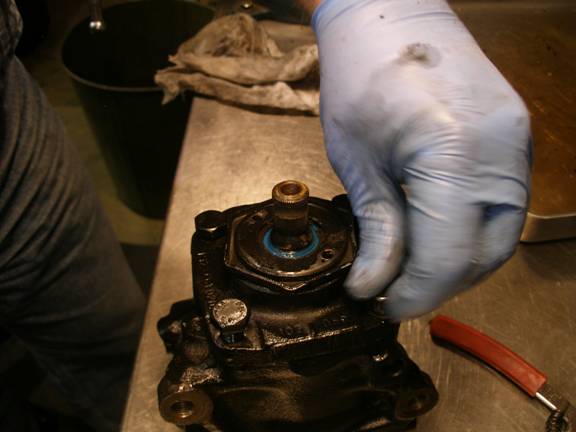
35. There is a small O ring that must be replaced. Pay careful attention so it gets installed properly. Install as shown in the center of the photo.
36. The guts should drop into the housing. Using a hammer, GENTLY tap the on the steering shaft if necessary to get the Teflon seal started into the housing.
37. Install steering shaft bearing plate bolts and tighten to the recommended torque.
38. Time out here. Take a break. Read the following before proceeding. You might want to make a simple tool that will help when installing the gear back into the vehicle. This making this tool is optional. This tool can be purchased from several vendors that sell MB special tools. It’s easy and quick to make. So that is what I did.
39. This simple tool that is nice to have when installing the gear into the car. It is a common bolt with a blunt nose that is used to hold the gear in the center position during the installation process. One can be made using the right bolt and a grinder. Simply round off the nose of the bolt to look something like this.
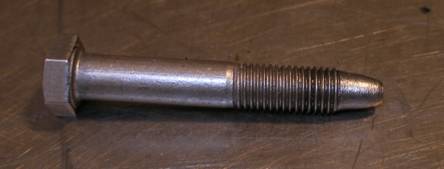
40. I am not sure of the thread size and pitch. You will have to match the threads and then grind it as shown. Use the original one to match the threads.
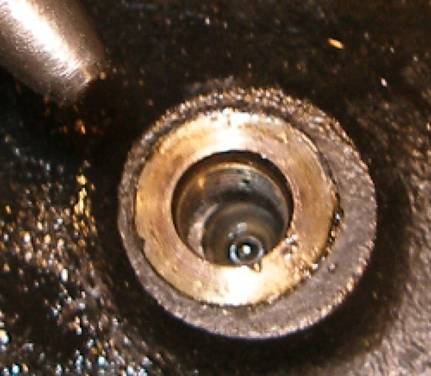
41. Prior to installing the bolt be sure the gear it at the center. Look down the hole and you will see an indented place for the nose of the bolt to go. It should look something like this. This one is slightly to the right of center. Rotate the steering shaft until the indentation comes into view.
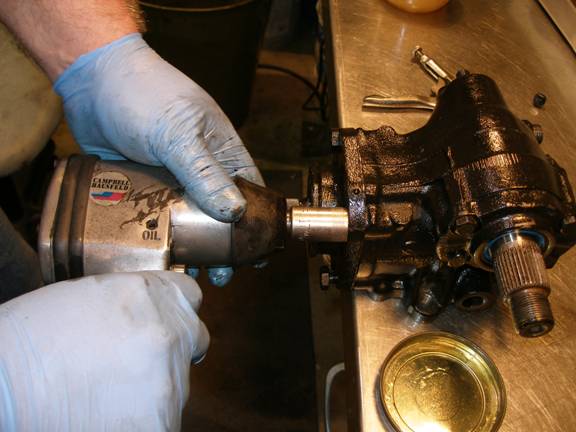
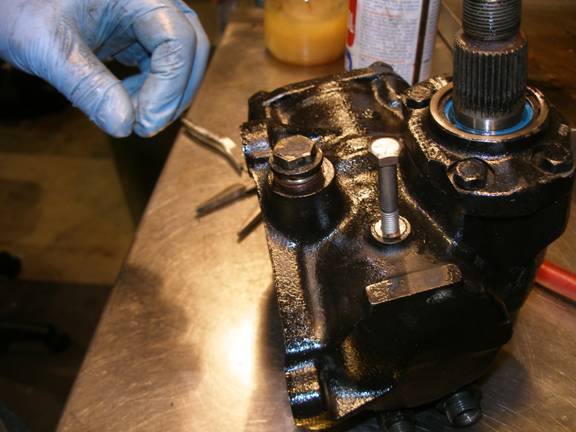
42. Rotate the steering shaft until the rack assembly is centered and install the centering bolt. Then install and tighten the bolt.
43. The bolt is shown installed. Tighten enough to make sure the gear can not move.
44. Install the pitman shaft.
45. Rotate the screw CCW. Do not tighten allow slack.
46. Replace the O rings (3) in the pitman shaft bearing assembly. Only 2 are shown here.
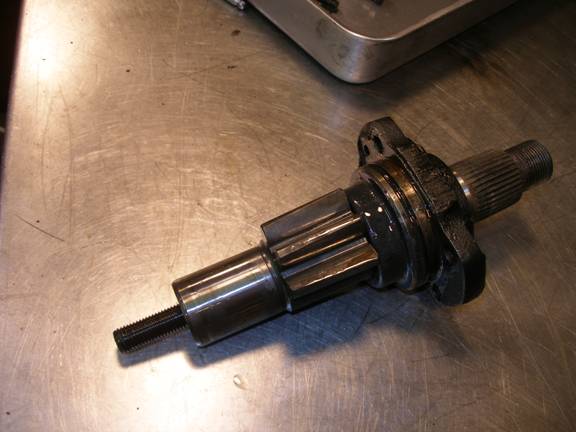
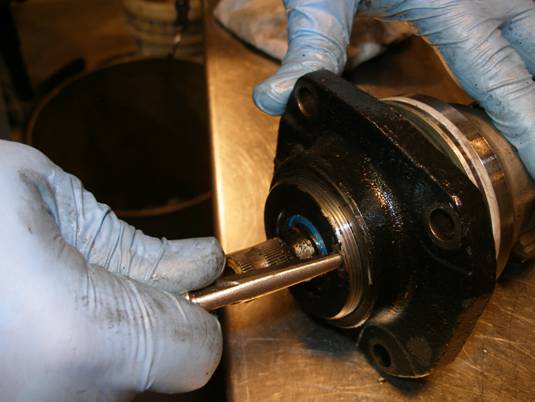
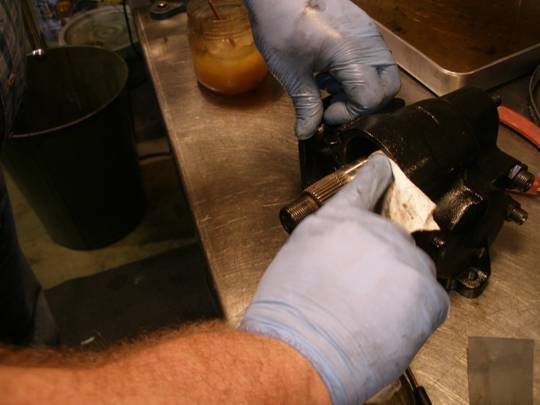
47. Using 1200 or 1500 grit sandpaper clean up the pitman shaft if needed. Corrosion in this area will tear up the new seal. You want a smooth surface with no scratch marks in the metal. Make it shine.
48. Clean things up a bit. Lubricate the surfaces with a light coat of petroleum jelly (car KY jelly).
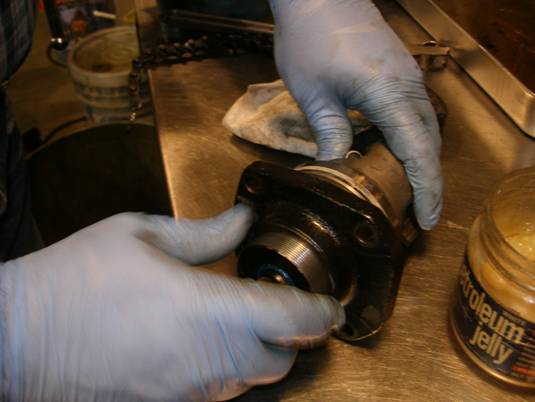
49. Install the pitman bearing assembly while paying attention to the O rings to be sure they are seated properly.
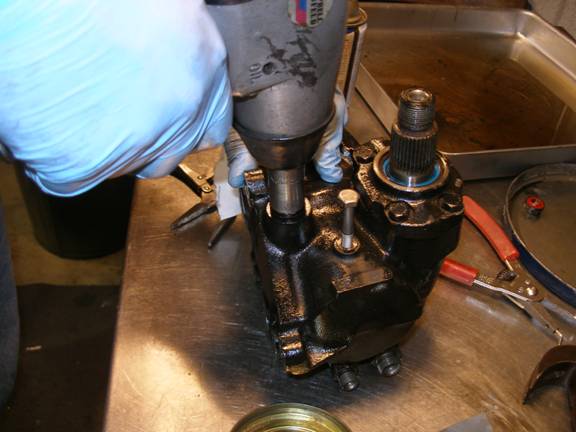
50. Install and tighten bolts.
51. Replace the valve components after they are cleaned up.
52. Replace copper seal washer.
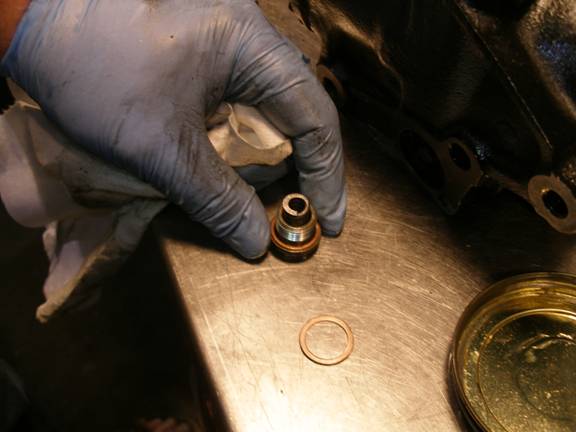
53. Tighten to recommended torque.
54. Install locking nut on pitman shaft adjustment screw.
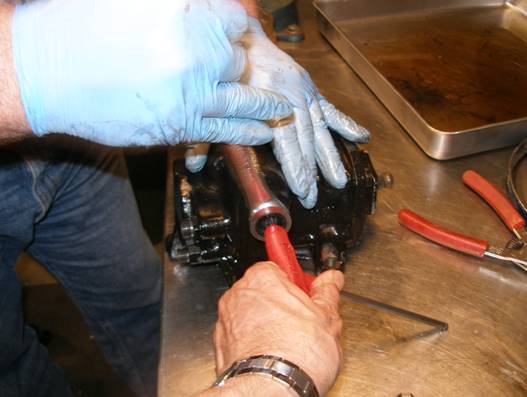
55. Get setup to adjust the gear box. Mount it in a vice or something where you can get to the adjustments and measure the torque on the steering shaft.
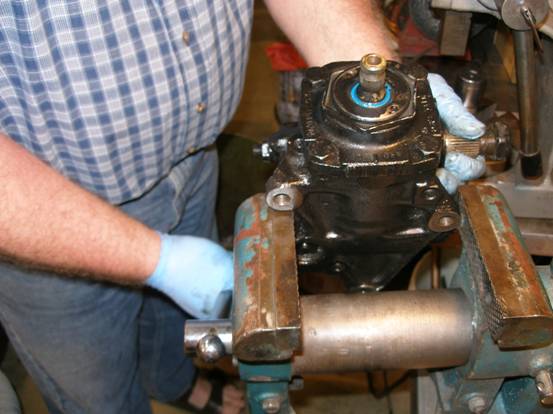
56. Get some sort of a handle on the steering shaft and be sure not to bugger up the spline. I use a vise grip pliers softened with a rag as to not to damage the splines.
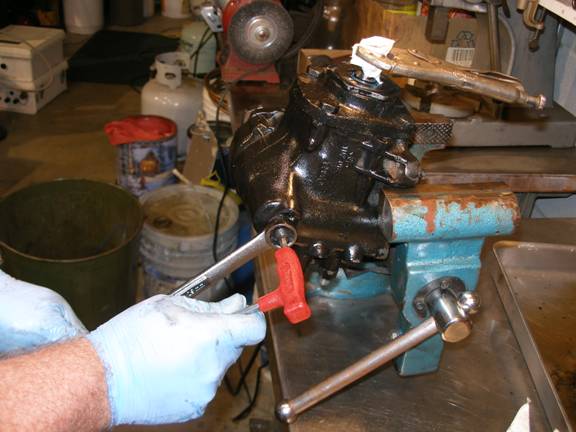
57. Get a 19mm closed end wrench and an 8mm Allen wrench to adjust the gear box. Mercedes adjustment procedure wants you to adjust the box so the torque peaks at the center of rotation. This peak should be roughly twice the torque at either end of movement. I use the “educated guesstimate” method. It works for me.
58. The teeth on the pinion gear are wedge shaped. As the shaft position is adjusted the mesh of the pinion to the rack is varied. You want to set the mesh so there is no play and just a bit of interference. The interference is what makes the friction increase at the center rotation.
59. Setting the friction level is accomplished by adjusting the screw in or out as needed. Rotating the screw CCW makes more friction and conversely CW makes less friction.
60. Here is an excerpt from the MB factory repair manual. This is another way to do it in the car. I prefer to do it on the bench.
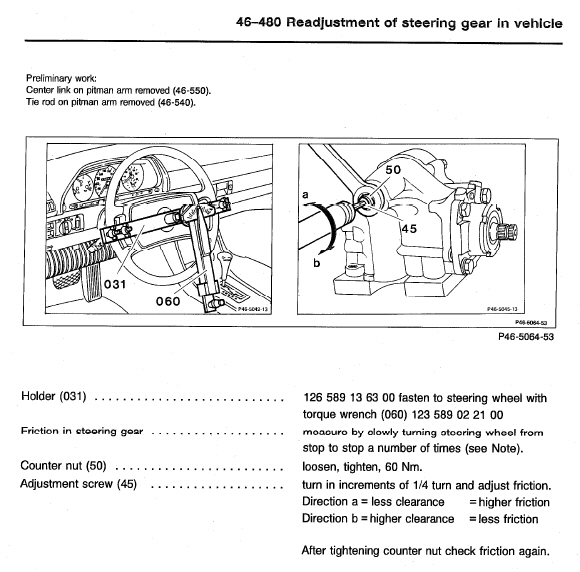
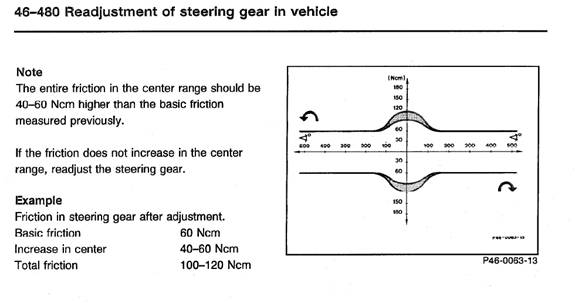
61. Rotate and adjust screw until you get twice the torque in the center as compared to the torque at the end of rotation. Lock the nut and re-test. Locking the nut moves the adjustment a little bit. You will have to compensate.
62. You are done. Great job. You have saved about $400. Go have a beer or two. Just reinstall the gear back into the car and take the rest of the day off.
63. AT this point you have the option to remove the centering bolt and replace with the cap bolt and copper washer or not. I recommend that you leave the centering bolt in place until the gearbox is installed in the car. It helps to be sure that the steering wheel gets oriented correctly. After it is installed then remove the centering bolt it and install the cap bolt and copper washer. Your choice.
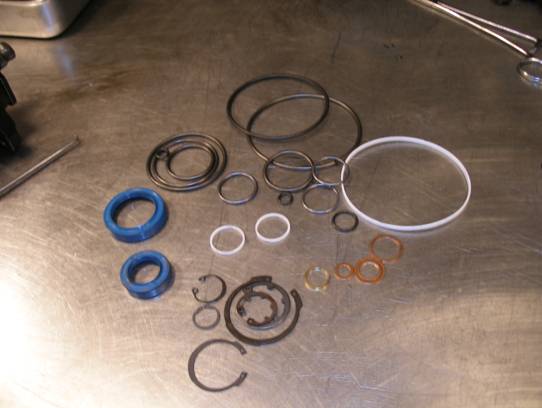
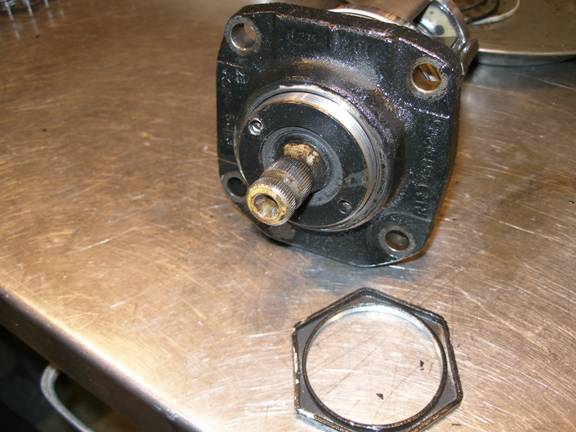
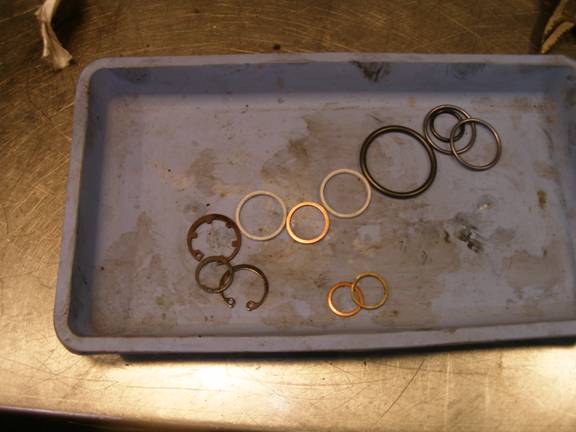
Here are the parts that we had left over. There are a probably a few more seals in the recalculating ball assembly but we did not go there. In some cases I might have re-used the original clips. So I have a few extras. They don’t really wear out. Some of the gear boxes use a different style of seal mechanism for the valves and those parts were not required for this box. The moral of the story is “don’t worry, be happy” you will have some stuff left over.
I have done a number of these gear boxes. The procedure has worked in all cases and the steering slop and oil leaks have been eliminated. I have saved a bunch of money and learned something at the same time. Once again I am convinced that everything Mercedes has done on these vintage of cars was designed for maintenance. Every job I have attempted has come out well. I like the way the Germans engineer these cars. You can keep them going forever.
I hope this tutorial has helped. If it has, drop me a note and let me know. I would appreciate your comments.
Thanks and good luck.

David Petryk
davep@acc-controls.com